Well the last two months has been a bit of a slog, instead of taking more photos I spent most of the time writing.
Read MoreShoot 5
Fifth Shoot: - 21st November 2020
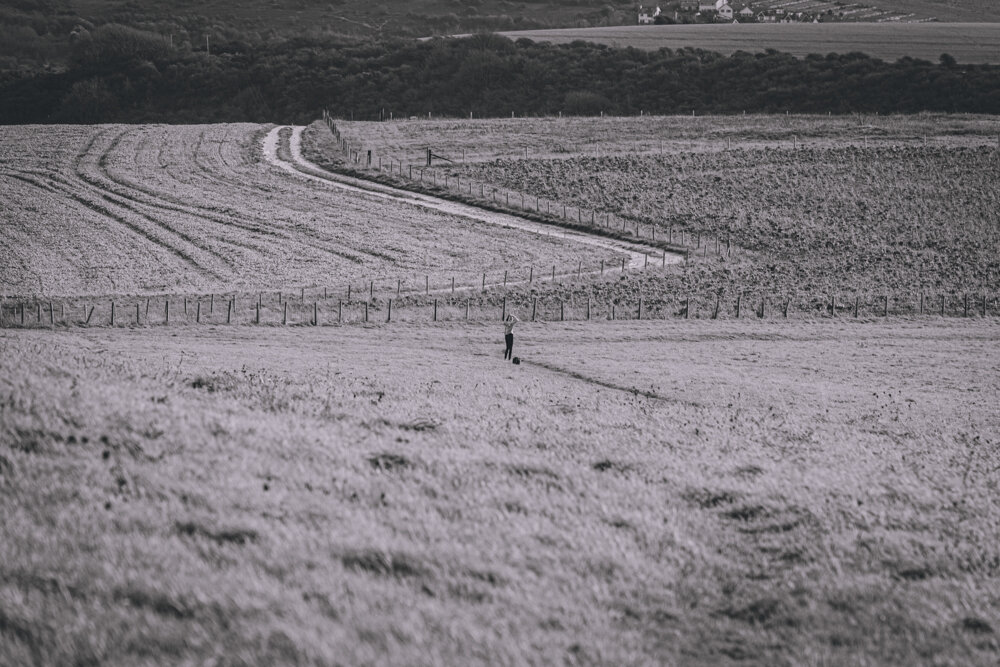
Following on from the conclusions of the previous shoot I walked north along the river Adur outside the villages of Upper Beeding & Bramber. I had my repaired tripod and a cable release as well as my Nikon D7100.
As I had mentioned in the conclusions part of the previous shoot I chose to shoot at a fixed aperture & shutter speed letting the camera decide the ISO, it was a cloudy day so I did have a little concern that any shots I took would be very grainy and full of noise.
Unlike the previous shoot I will try to get back to using leading lines to take the “viewer” to the person(s) in the landscape.


Conclusions
At the start of this shoot I was concerned that my images would be full of noise and basically not look “good”.
I have to say I was pleasantly surprised by the results, most of the shots were taken at ISO 1100 which the camera dealt with quite well. I didn’t have to do much in the way of adjustments – a little noise reduction was needed as there was a bit of noise but no where near as much as I thought there would be.
There was more colour in the scenery that I had expected (green grass) and because of the recent wet weather all the tracks were quite muddy giving a nice contrast to the grass. The only downside was the heavy cloud, it would have been nice to have some sunshine but I’ll take what I can considering the time of year it is.
So having tried a fixed aperture (F11) & shutter speed (500th of a second) I think I will stick to this method so that I freeze as much movement in the scene as possible with as much detail as possible.
The only other area to experiment with now is the time of day I shoot - early morning or early evening.
Shoot 4
Forth Shoot: - 13th November 2020
After getting some feedback on one particular photo I re-edited it. I cropped the top and bottom of the photo and changed it from black & white to colour. I posted it up on my 500PX site and it got a lot more views, likes and comments which I wasn’t expecting.
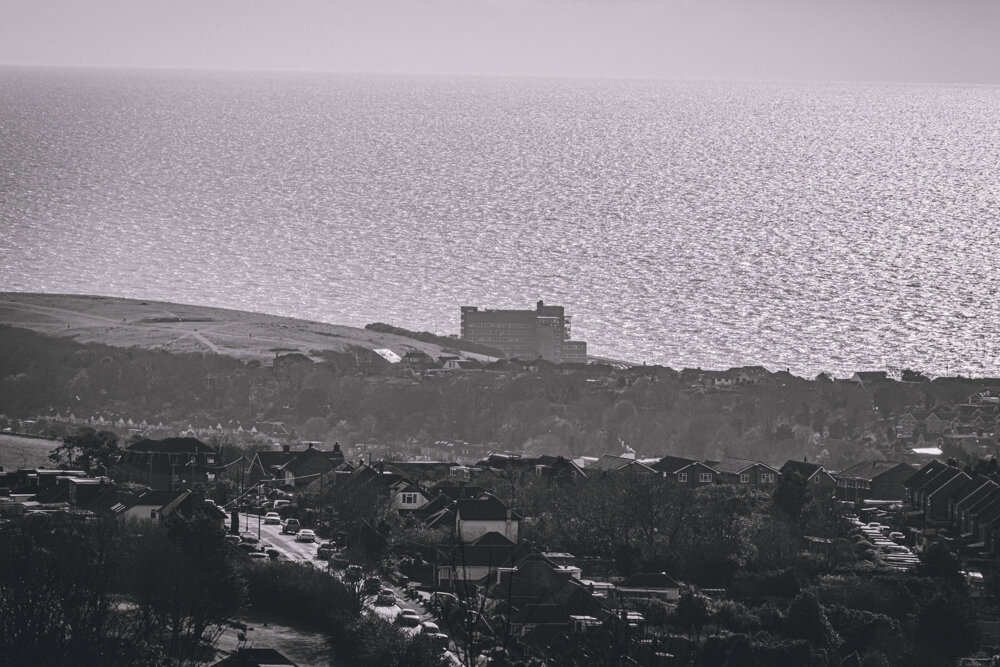
Later on in the week (as above title suggests) I went to my next location which was the South Downs above Woodingdean just outside Brighton.
My tripod was “in the shop” so to speak so I had to resort to using a monopod instead combined with a different lens (stabilised), my hope was that this combination would be good enough to get the same kind of sharpness as in my previous shoot (which was on a tripod). In some of the shots I experimented with dropping the aperture down from f.11 to f.8 to see if I could get a faster shutter speed and thus sharper images.
I also decided I would do both black & white and colour versions of the same images to see which works best. The intention being so I can then nail down weather I will stick to black & white or colour for the project to keep a consistent aesthetic.


Conclusions: -
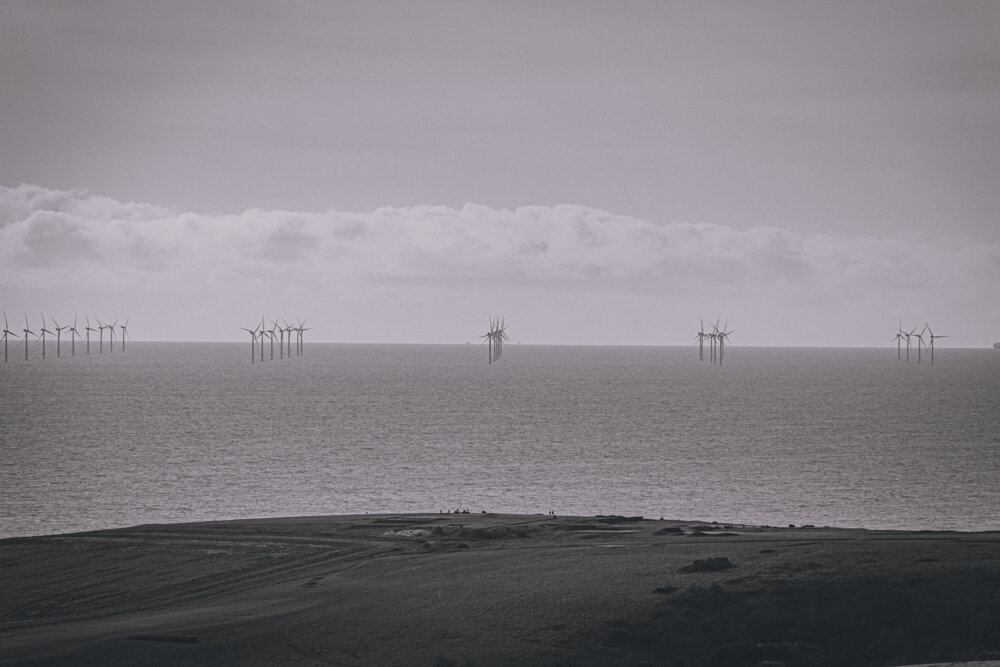
I found it hard to find the right kind of compositions that had come so easily in the previous shoots. There were less people and the terrain posed a challenge. I found myself taking telephoto shots of the coastline with tiny specs of people in the landscape so no leading lines as in the other shoots.
I found that the monopod even with a stabilised lens wasn’t as good as a tripod and the different lens posed it’s own problems. The main problem was that the lens wasn’t anywhere near as sharp as the lens I had used on the two previous shoots.
I still have to decided on how many “finished” images I want in total and from each location, I’m thinking somewhere in the range of 10 to 25 final images. The final number will depend on how many locations I can shoot at and the whole COVID situation, if possible I’d like to present them in a book. There are still a few locations I’d like to try but the COVID situation may prevent me from going too far from home base.
I have three more experiments to try before I make my decision on the final setup & aesthetic for this project: -
Set a single shutter speed that is fast enough to freeze movement in the image as well as a high aperture value for sharpness and let the camera decided the ISO – this would mean there would be variations on the ISO value but shutter & aperture would be the same so images would be consistent
Try some manual lenses I have to see if they are sharper and a feasible option. They are almost all prime lenses so I could in theory end up producing all the work using one single focal length thus adding another consistent element to the images produced
I have another digital camera with a higher pixel count and colour bit depth. Though it is a cropped sensor camera unlike what I have used for shoots 2 to 4 (first shoot was shot on a similarly cropped camera though not THE camera I am referring to in this instance)
Introduction
Solitary Landscape
During the national lockdown in the spring of 2020 many people were effectively trapped in their own homes. This confinement caused levels of stress and other related mental issues to rise. Later the government revised the rules so that people could leave their homes for exercise, consequently many flocked to the countryside. Cycling and walking/hiking replaced other activities that were closed (the gym, sporting activities, socialising, etc). Even so strict rules requiring people not to mix and to stay away from each other were in force to contain the virus. In effect people were still trapped, starved of social interactions but could to a degree move more freely around their local area.
Now we come to my initial project concept. I want to portray the solitude, the loneliness, the feeling of separation, the emptiness that many people felt during the lockdown and still felt/feel even though when the subsequent restrictions were lifted. The duality of using the landscape to convey these concepts as a reference to actual events as well as in a conceptual way to express the emotions people have felt and still do feel is no accident. The landscape is the canvas from which the emotions I have mentioned before will be expressed on.
Initial concept
Stage One: – Empty landscape
Stage Two: – Distant figure in the landscape
Stage Three: – Figure facing the camera closer in the landscape
Stage Four: – Studio portraits